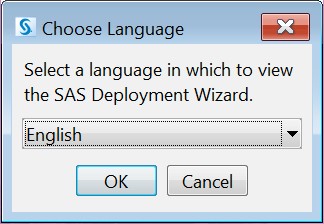
 4. In the "Choose Language" window, choose the setup Language of your choice and select OK:
 5. The "SAS Deployment Wizard 9.4" splash screen should appear:
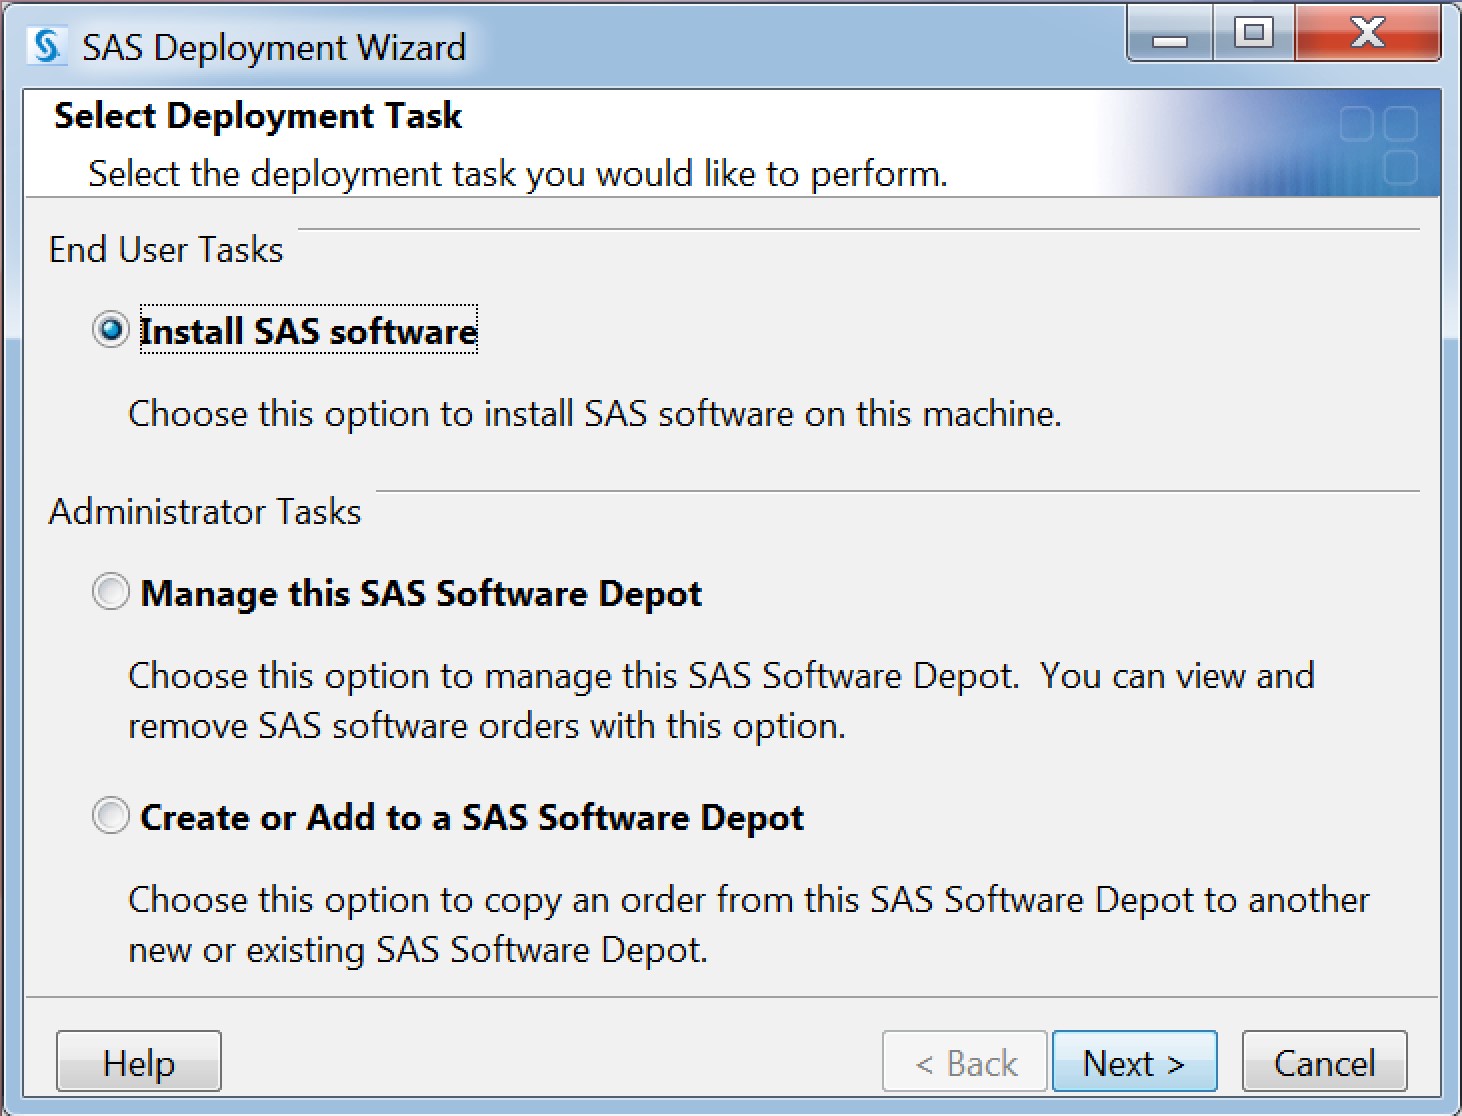
 6. On the "SAS Deployment Wizard" screen, select Install SAS Software and click Next:

 7. The "Specify SAS Home" screen may appear.
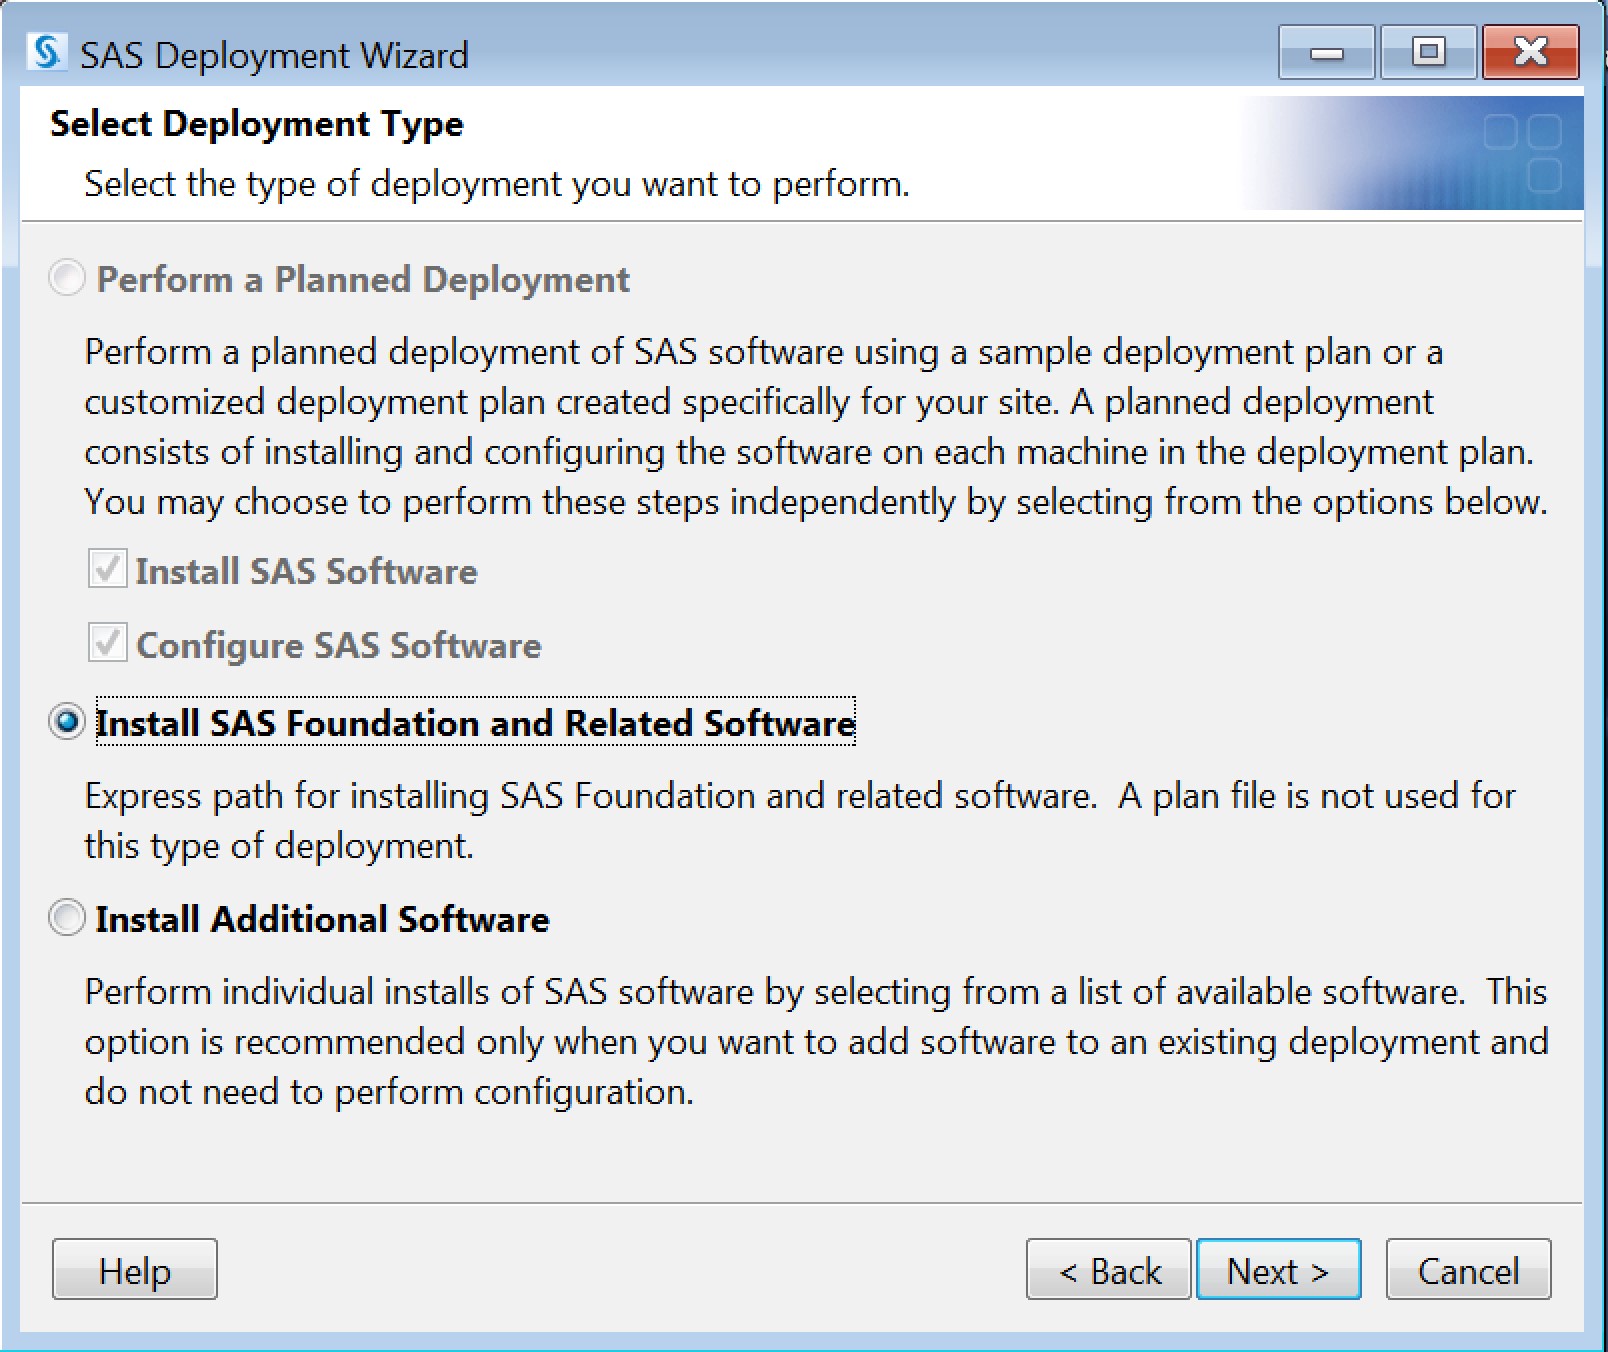
 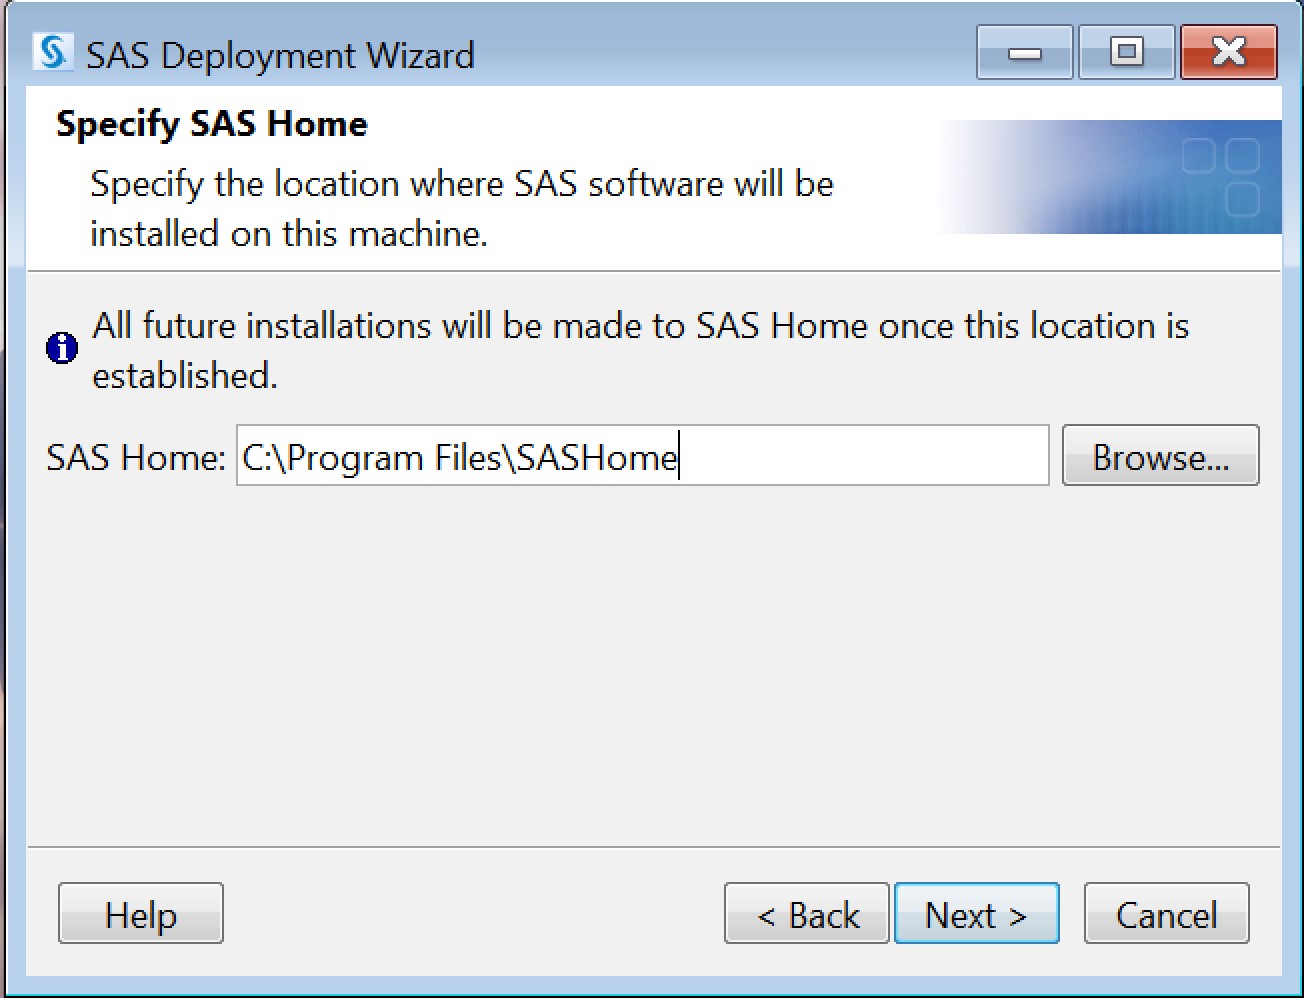 8. On the "Select Deployment Type" screen, select Next:
 9. On the "Select Products to Install" screen, specify the SAS Products to be installed:
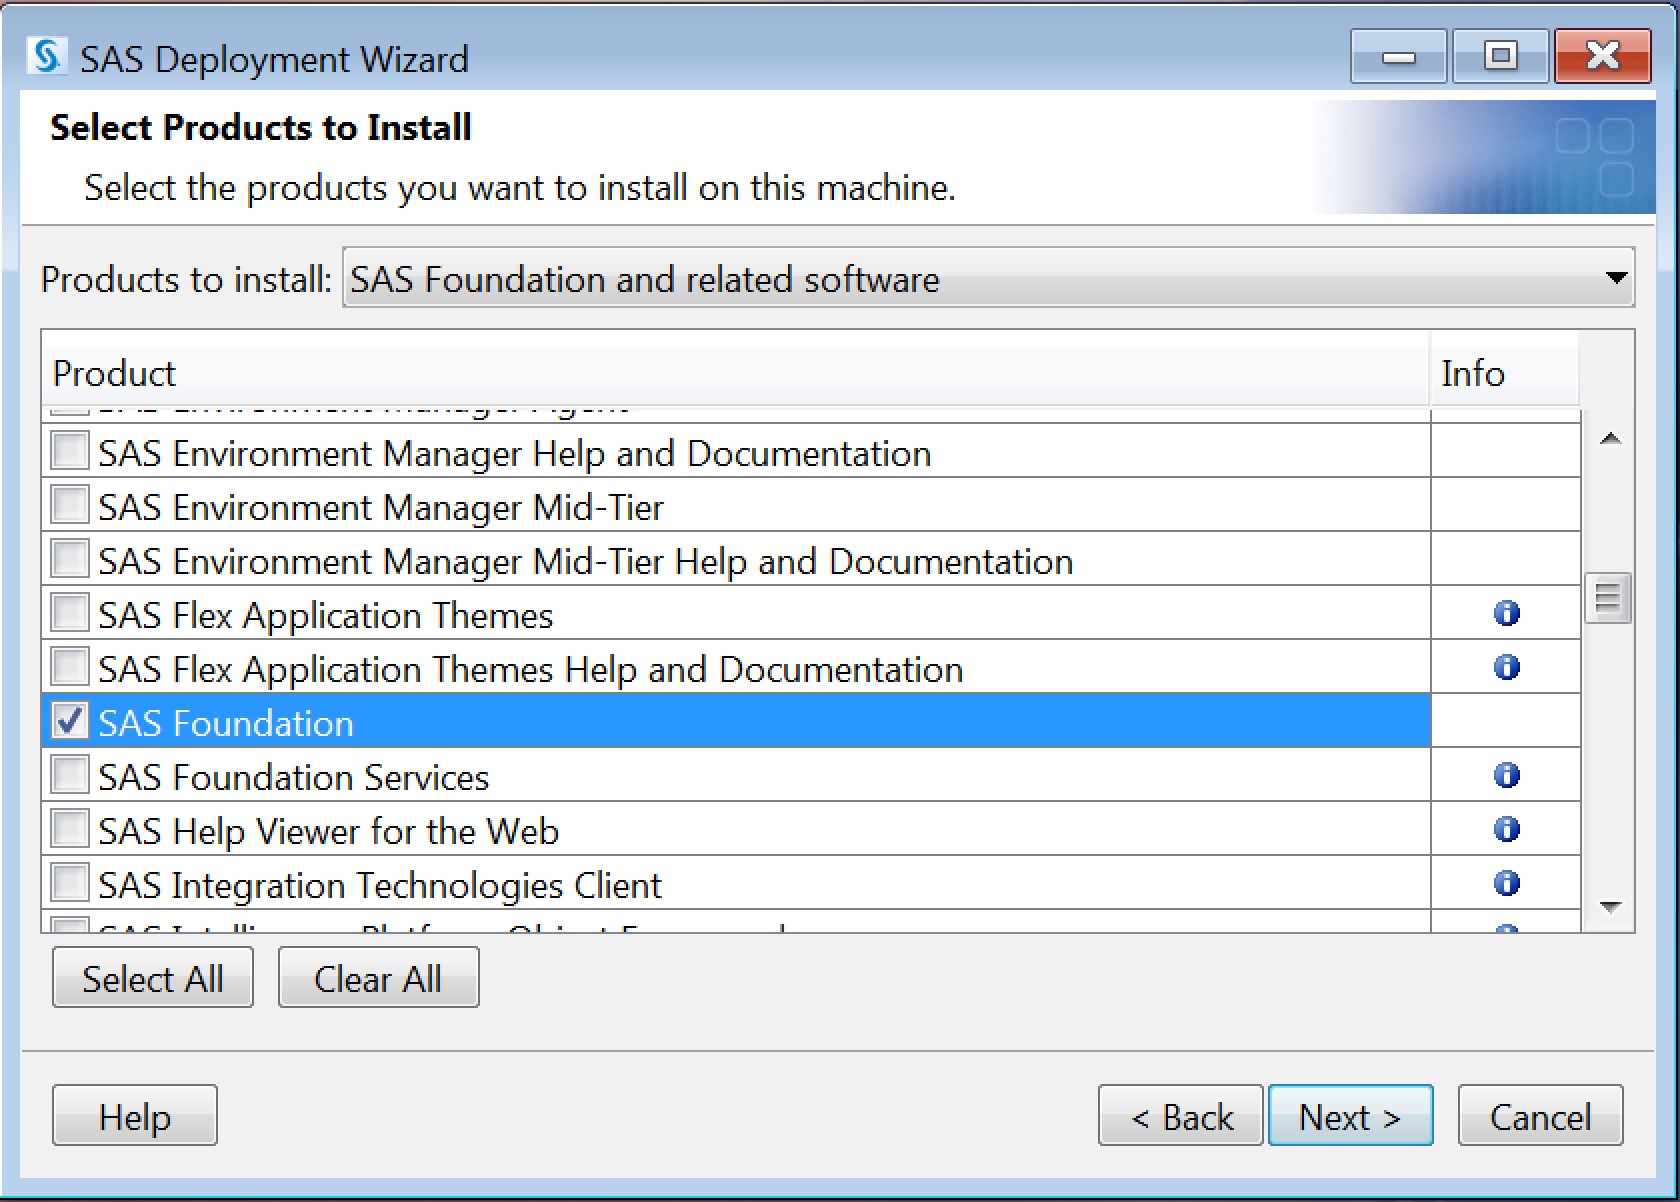 a. You may be prompted to Select SAS Enterprise Guide Mode if you are are running a 64-bit version of windows.
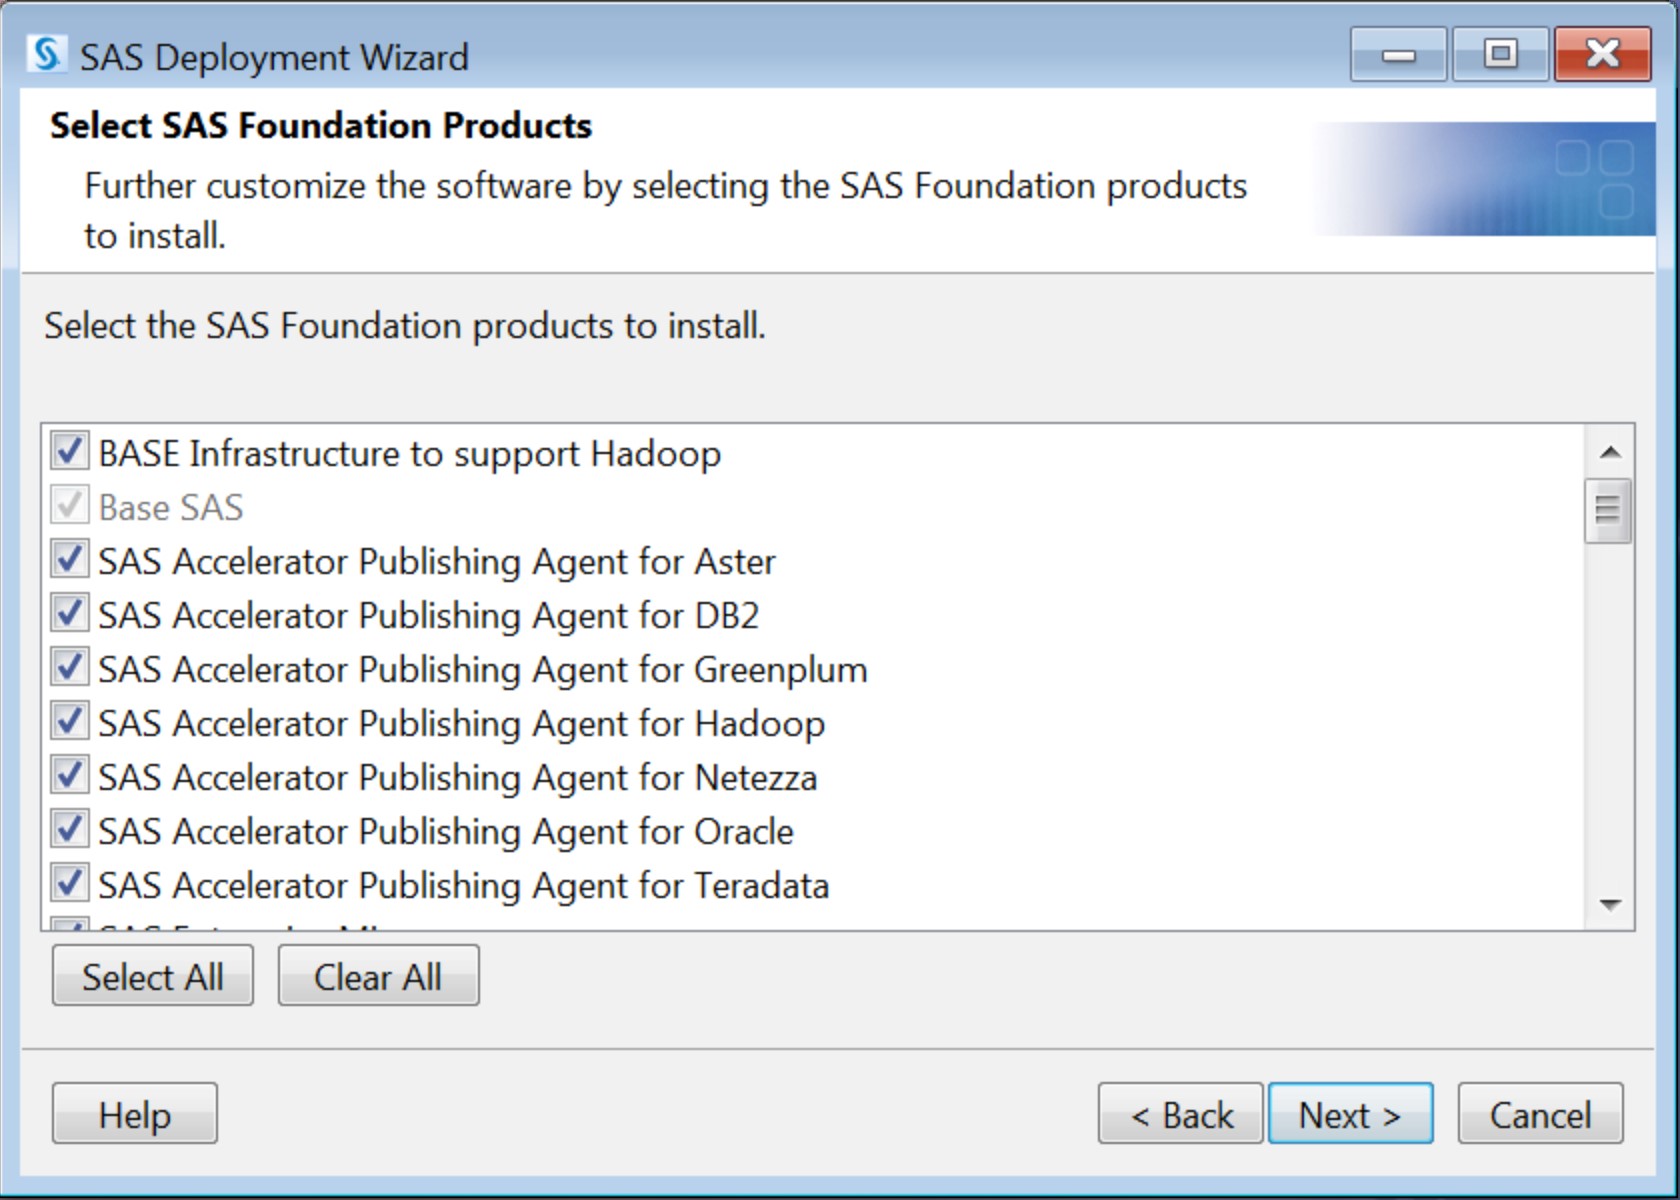
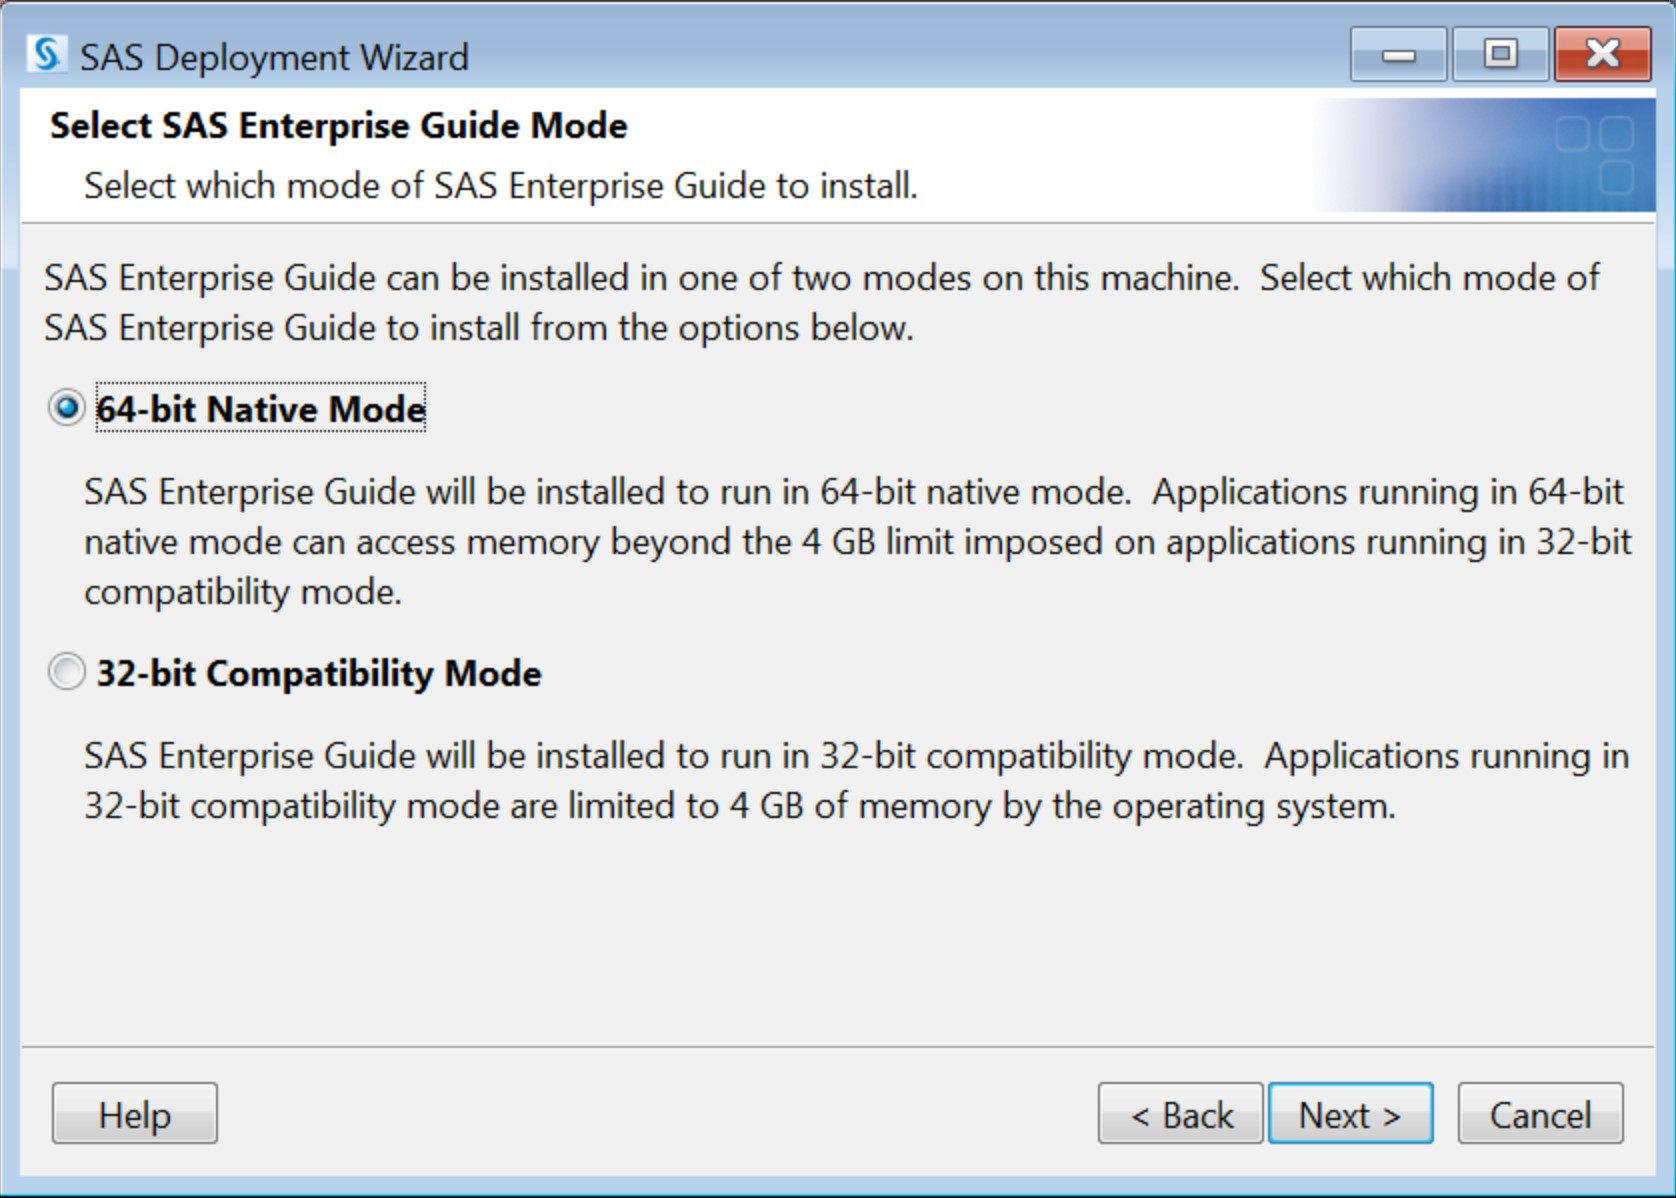 b. On the "Select SAS Foundation Products", leave the defaults selected or choose which products to install. Click Next to continue.
 11. On the "Specify SAS Installation Data File", select Next:
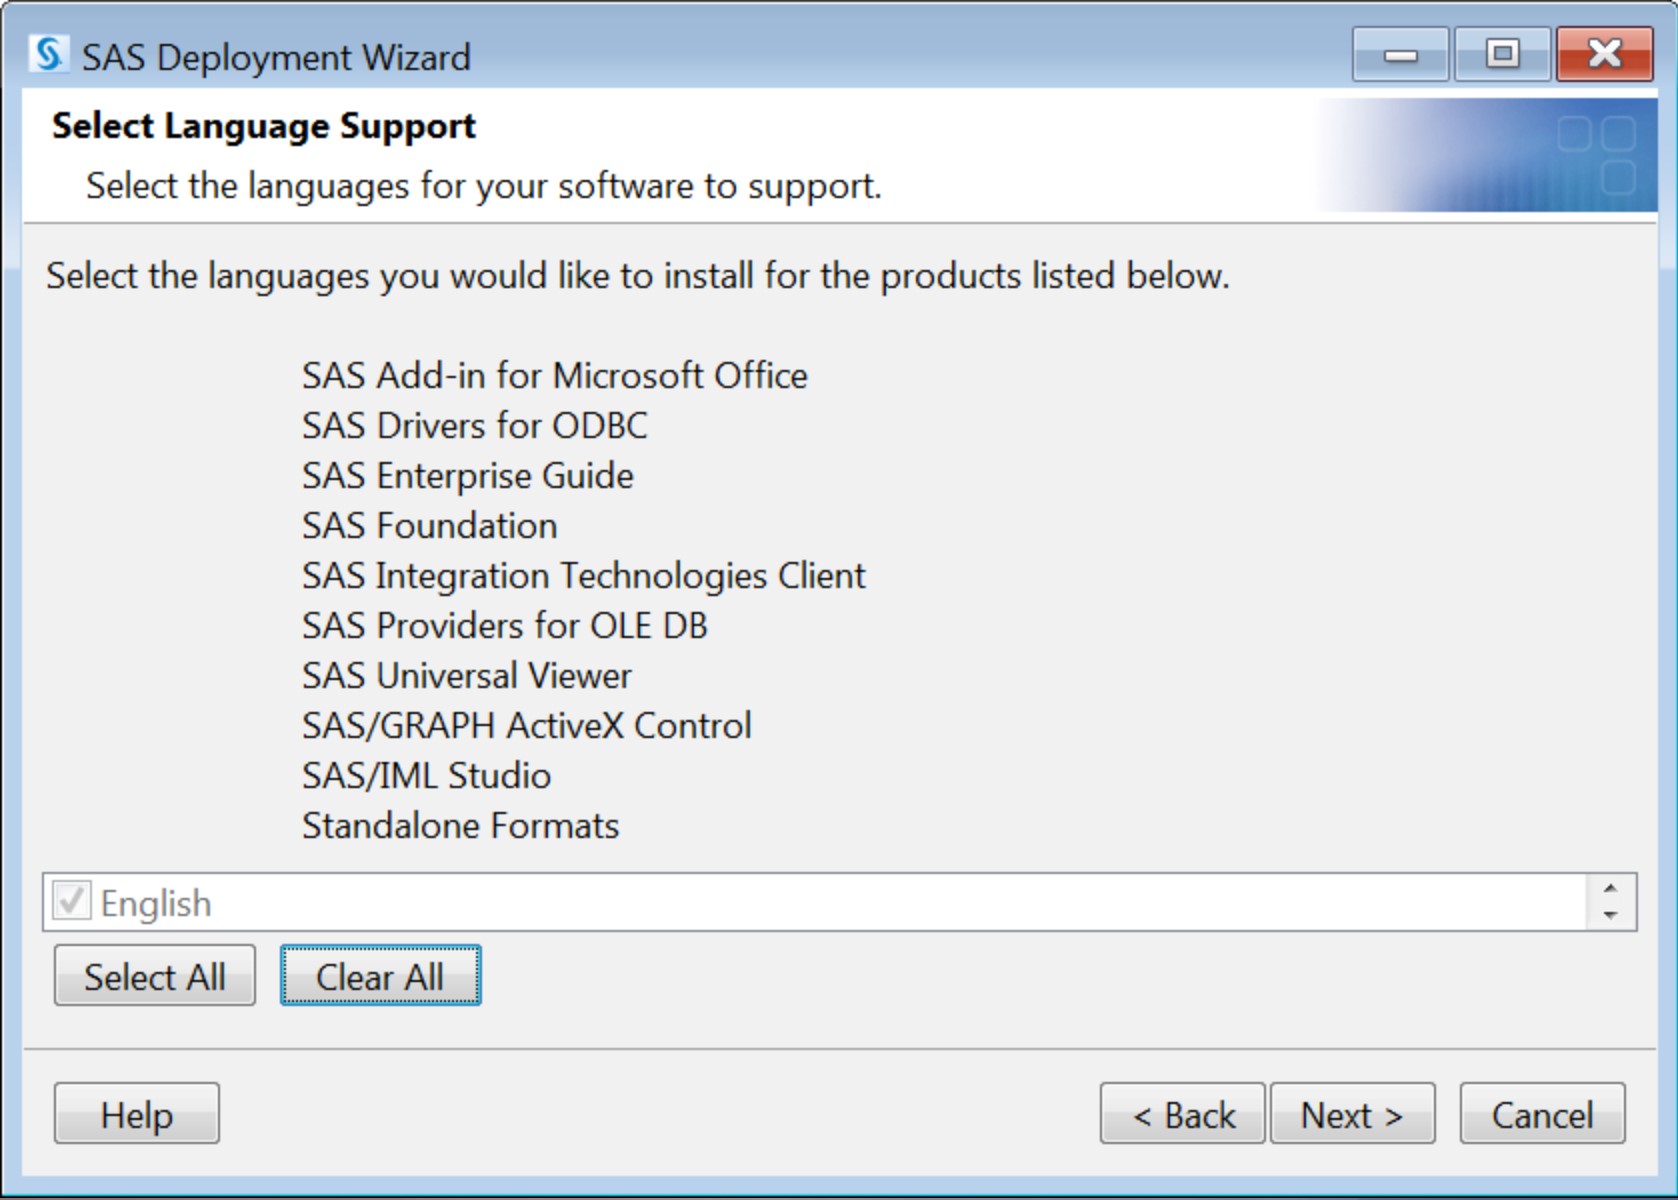
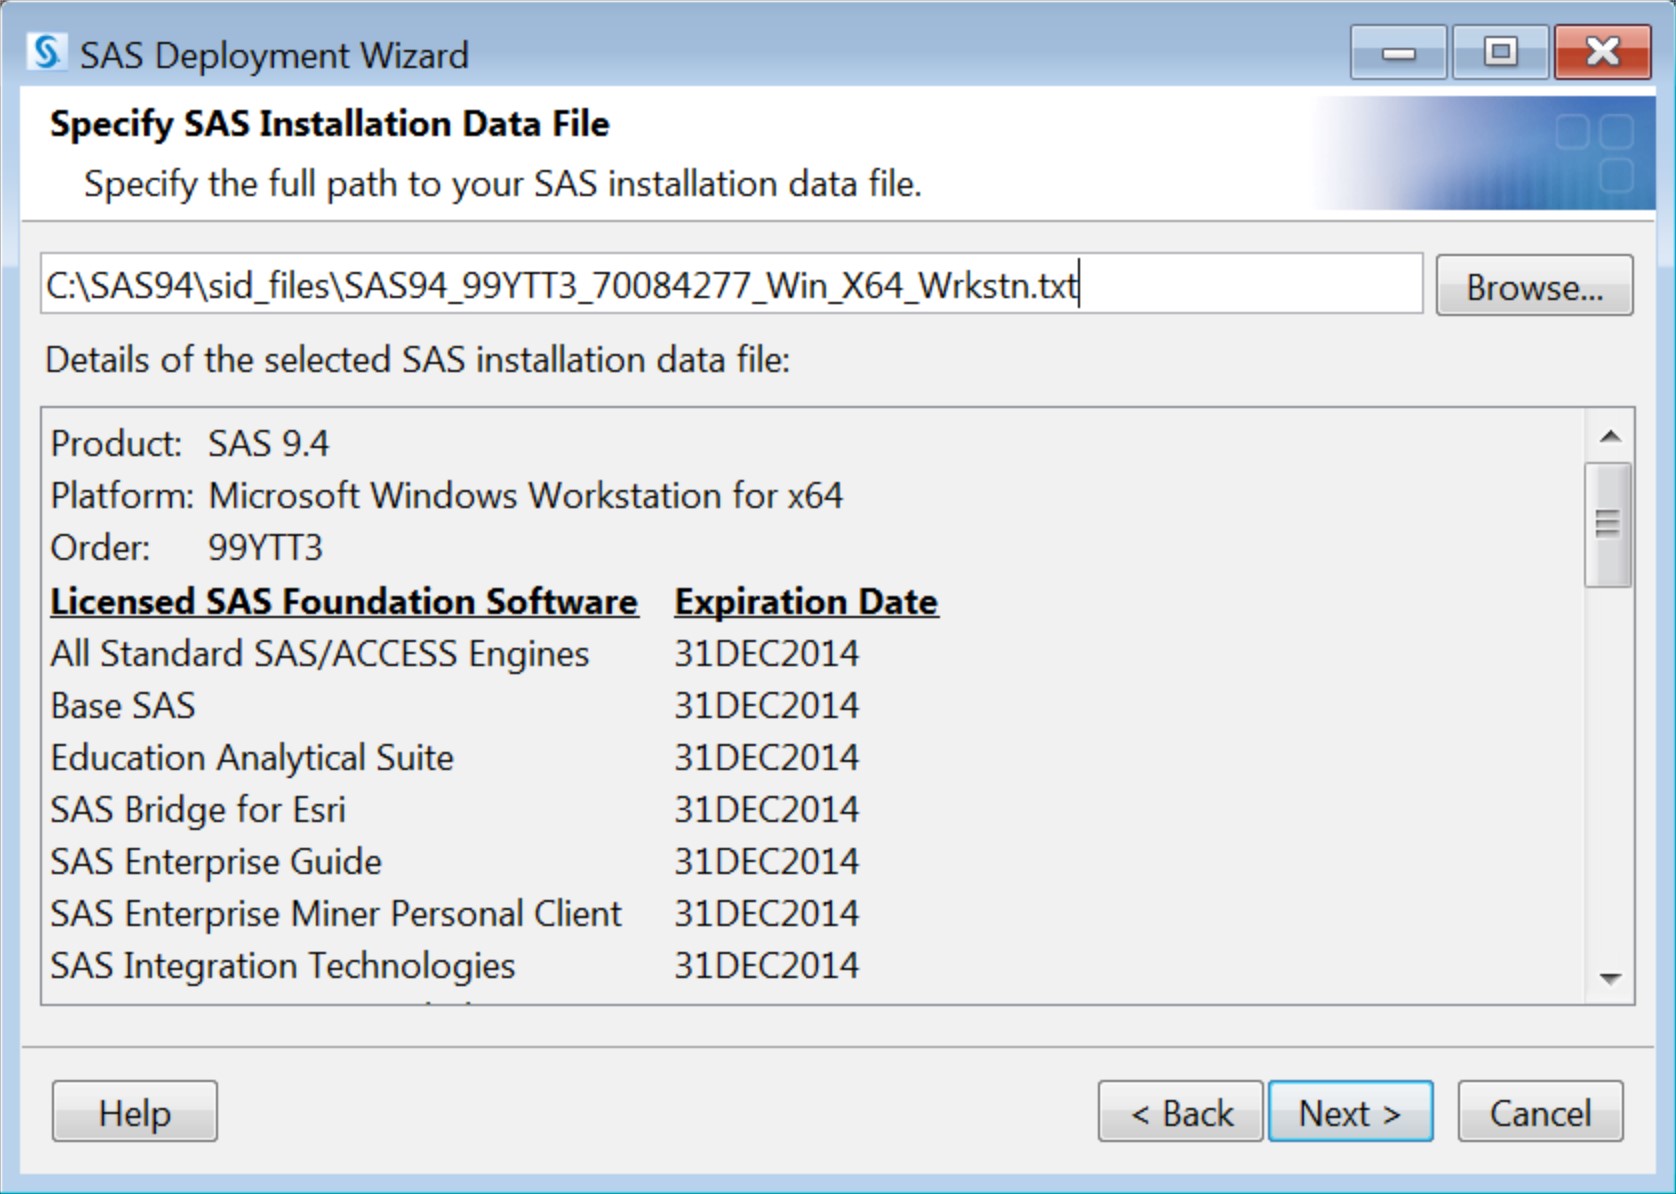 12. On the "Select Language Support" screen, click the Clear All button to remove all languages except English and click Next:
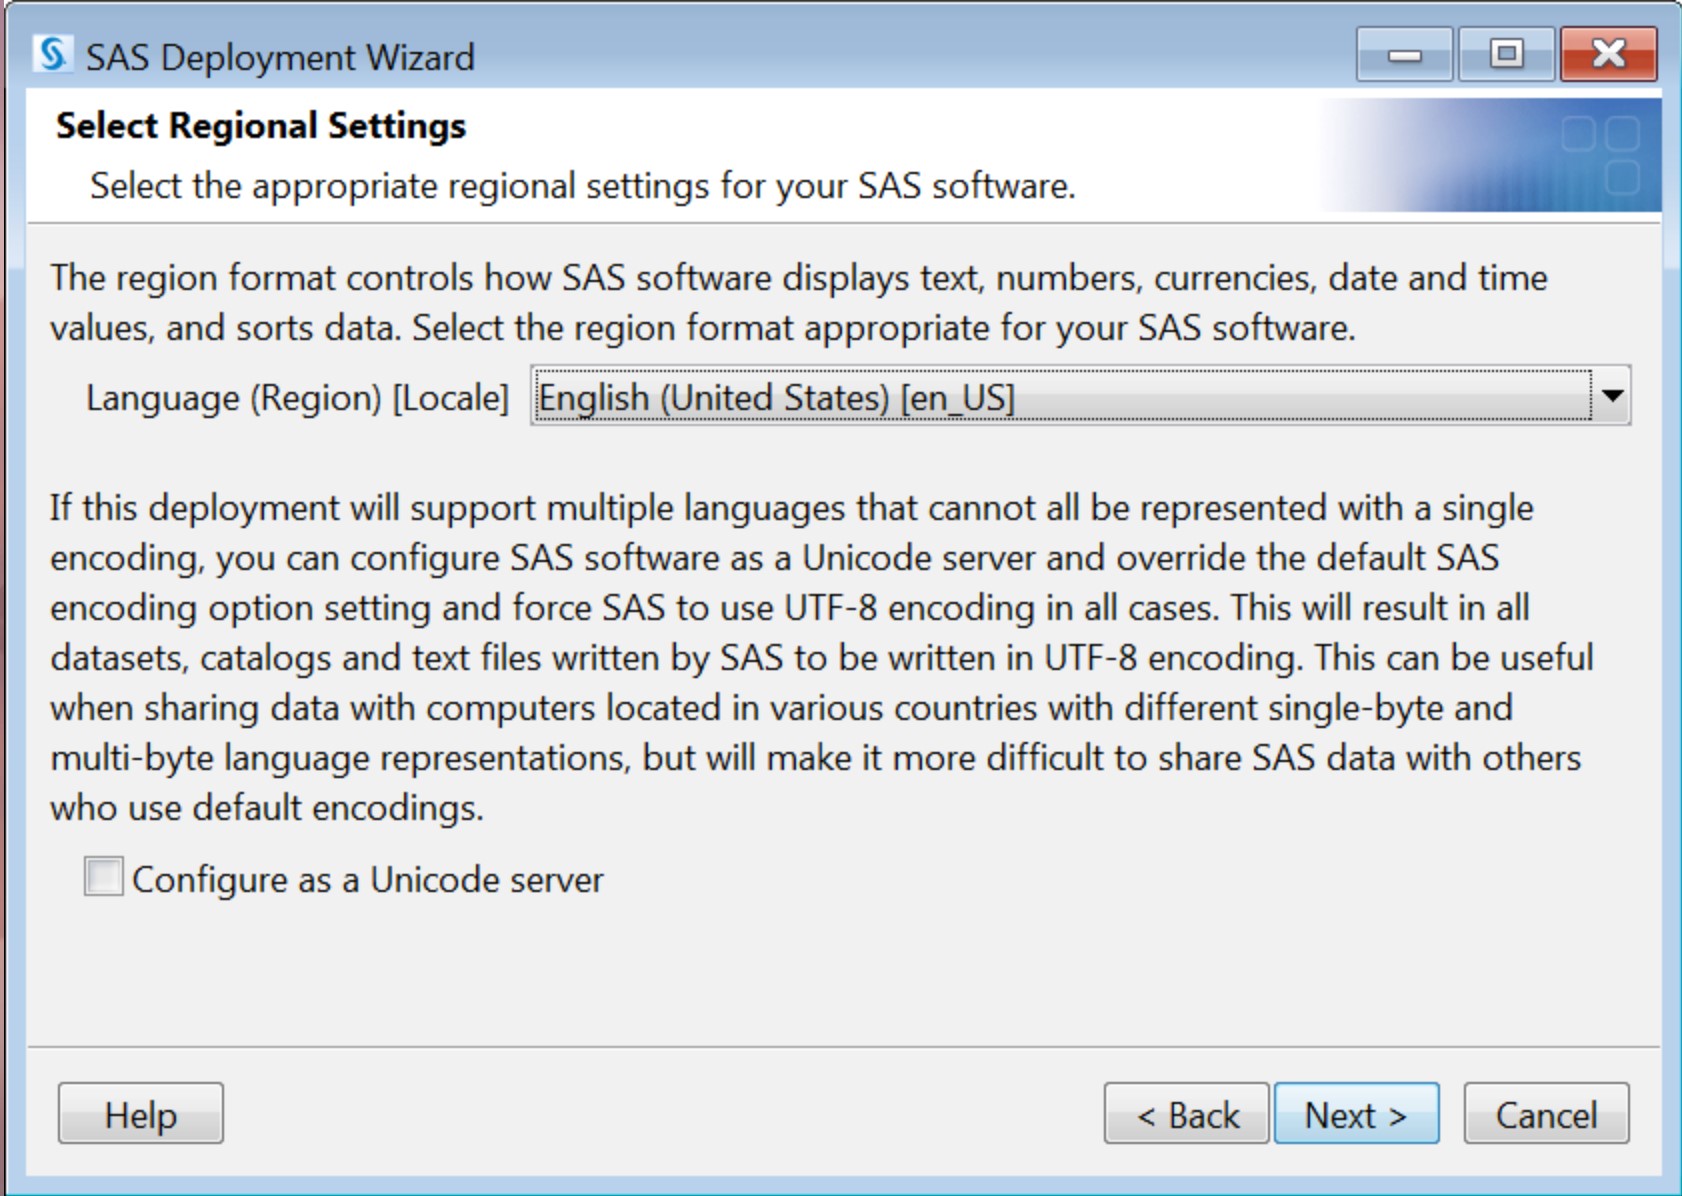
 13. In the "Select Regional Settings" dialog box, either leave the default (English (United States) [en_US]) or select a different regional setting from the drop-down list box. Click Next to continue.
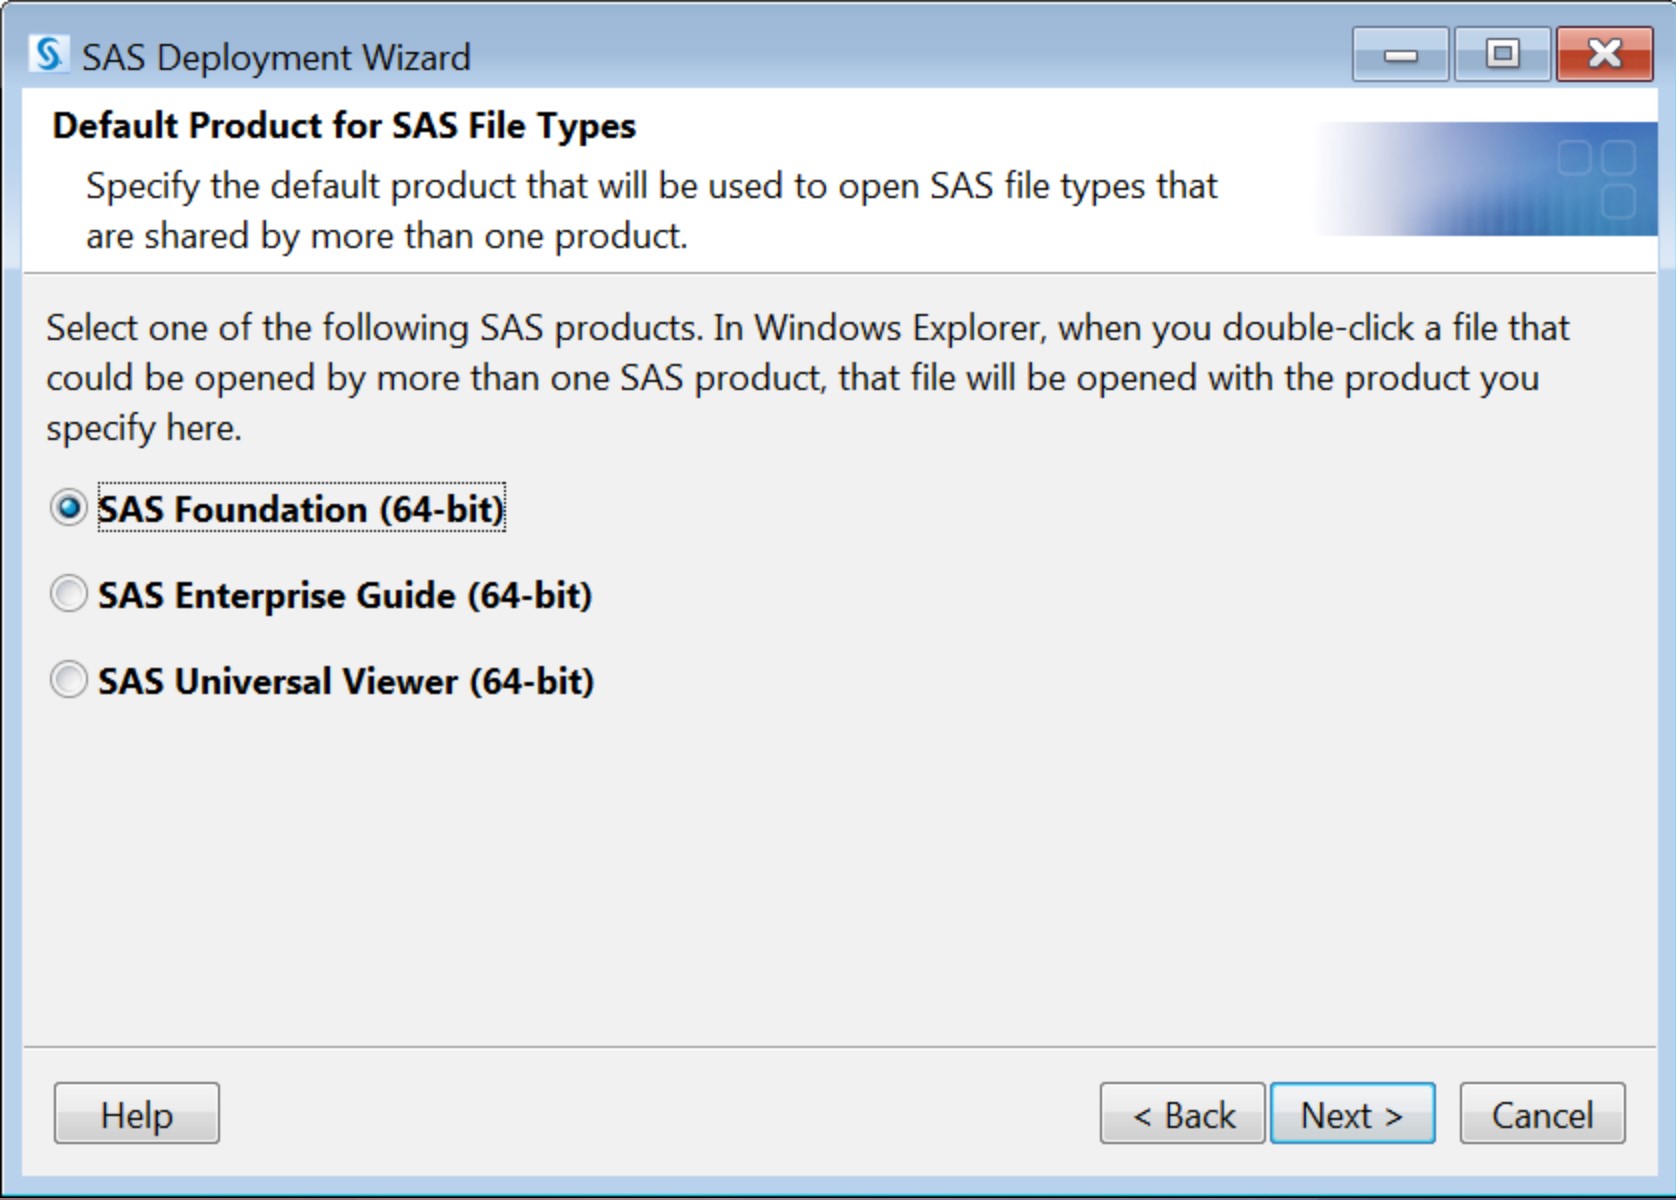
 14. On the "Default Product for SAS File Types" screen, Select SAS Foundation (64-bit) then click Next:
 15. Leave the default Host Name and Port Number. Click Next to continue.
 16. In the "Checking System" dialog box, you do not click Next. Once the installation runs through the loading installation package, it proceeds to the next Checking System dialog box automatically.
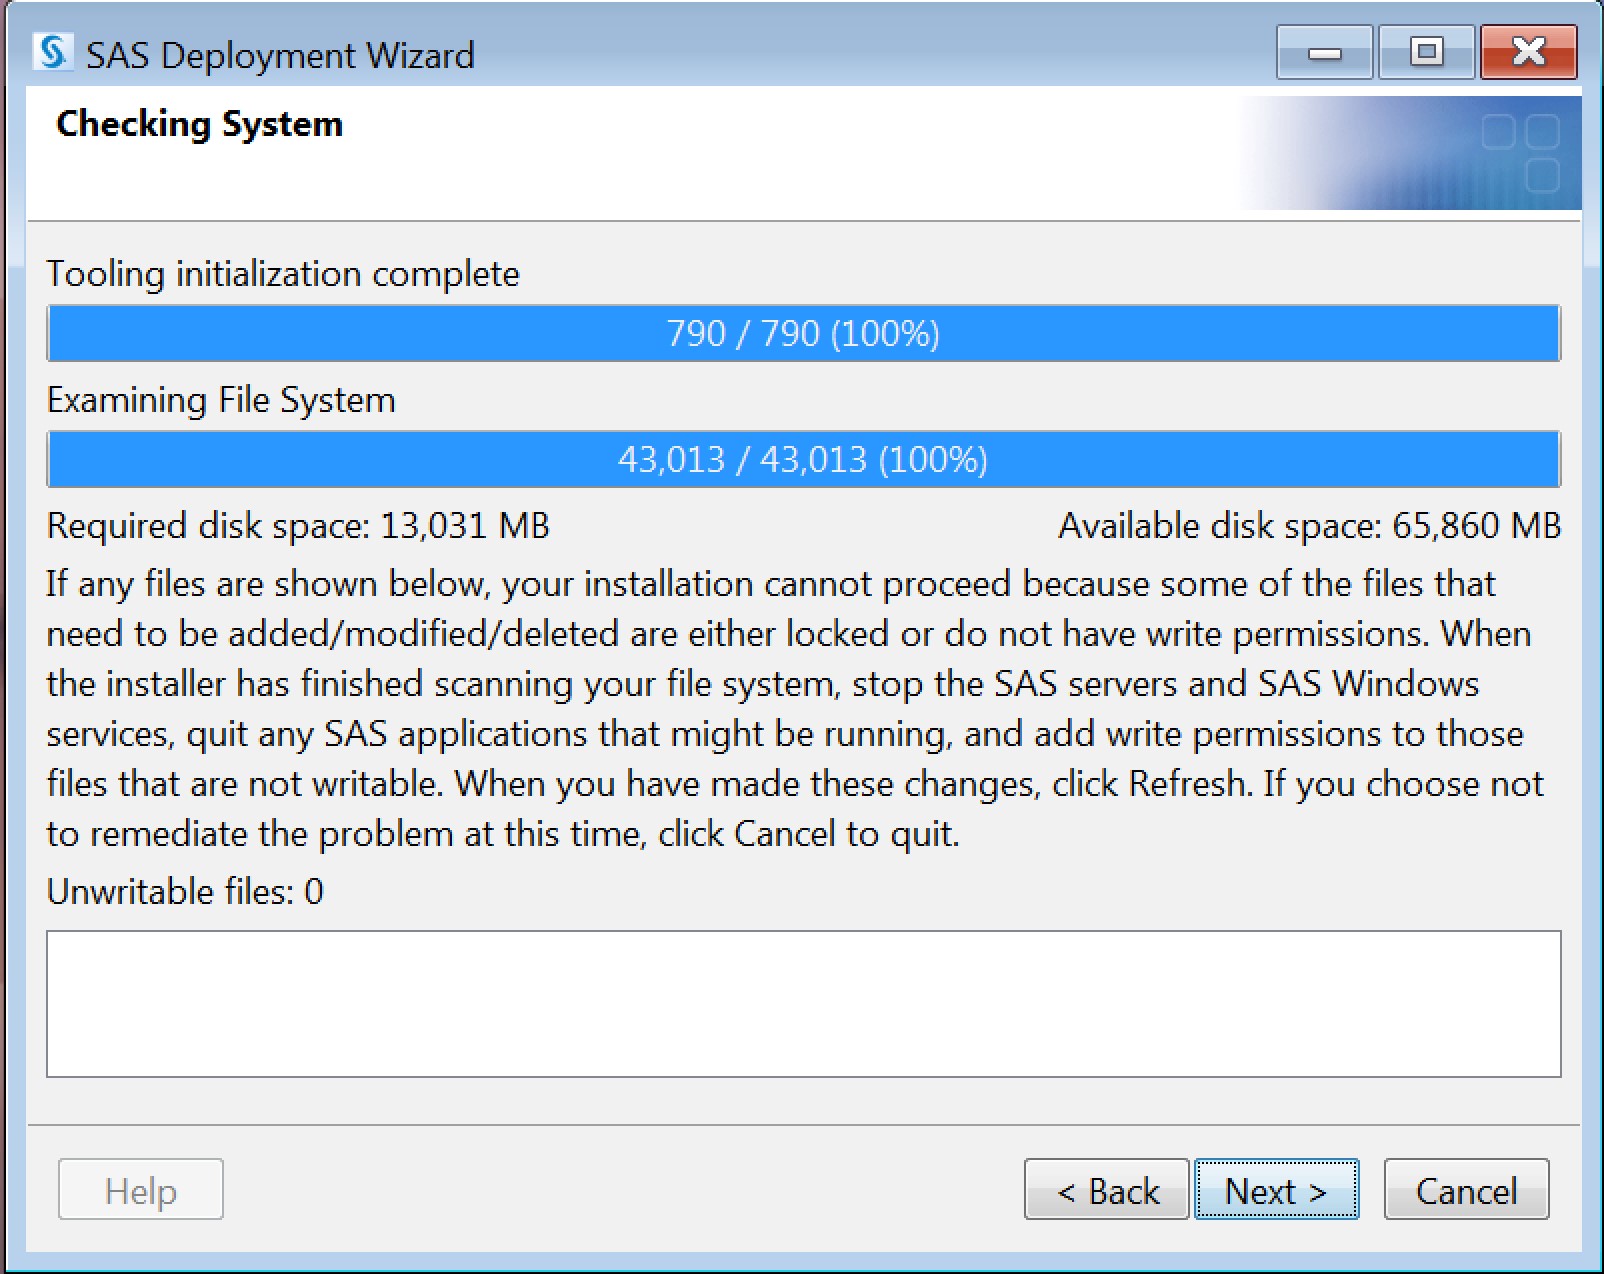
 17. Here, the SAS Deployment Wizard verifies the amount of free disk space and verifies that the files and directories that can be written. Click Next when it is finished calculating.
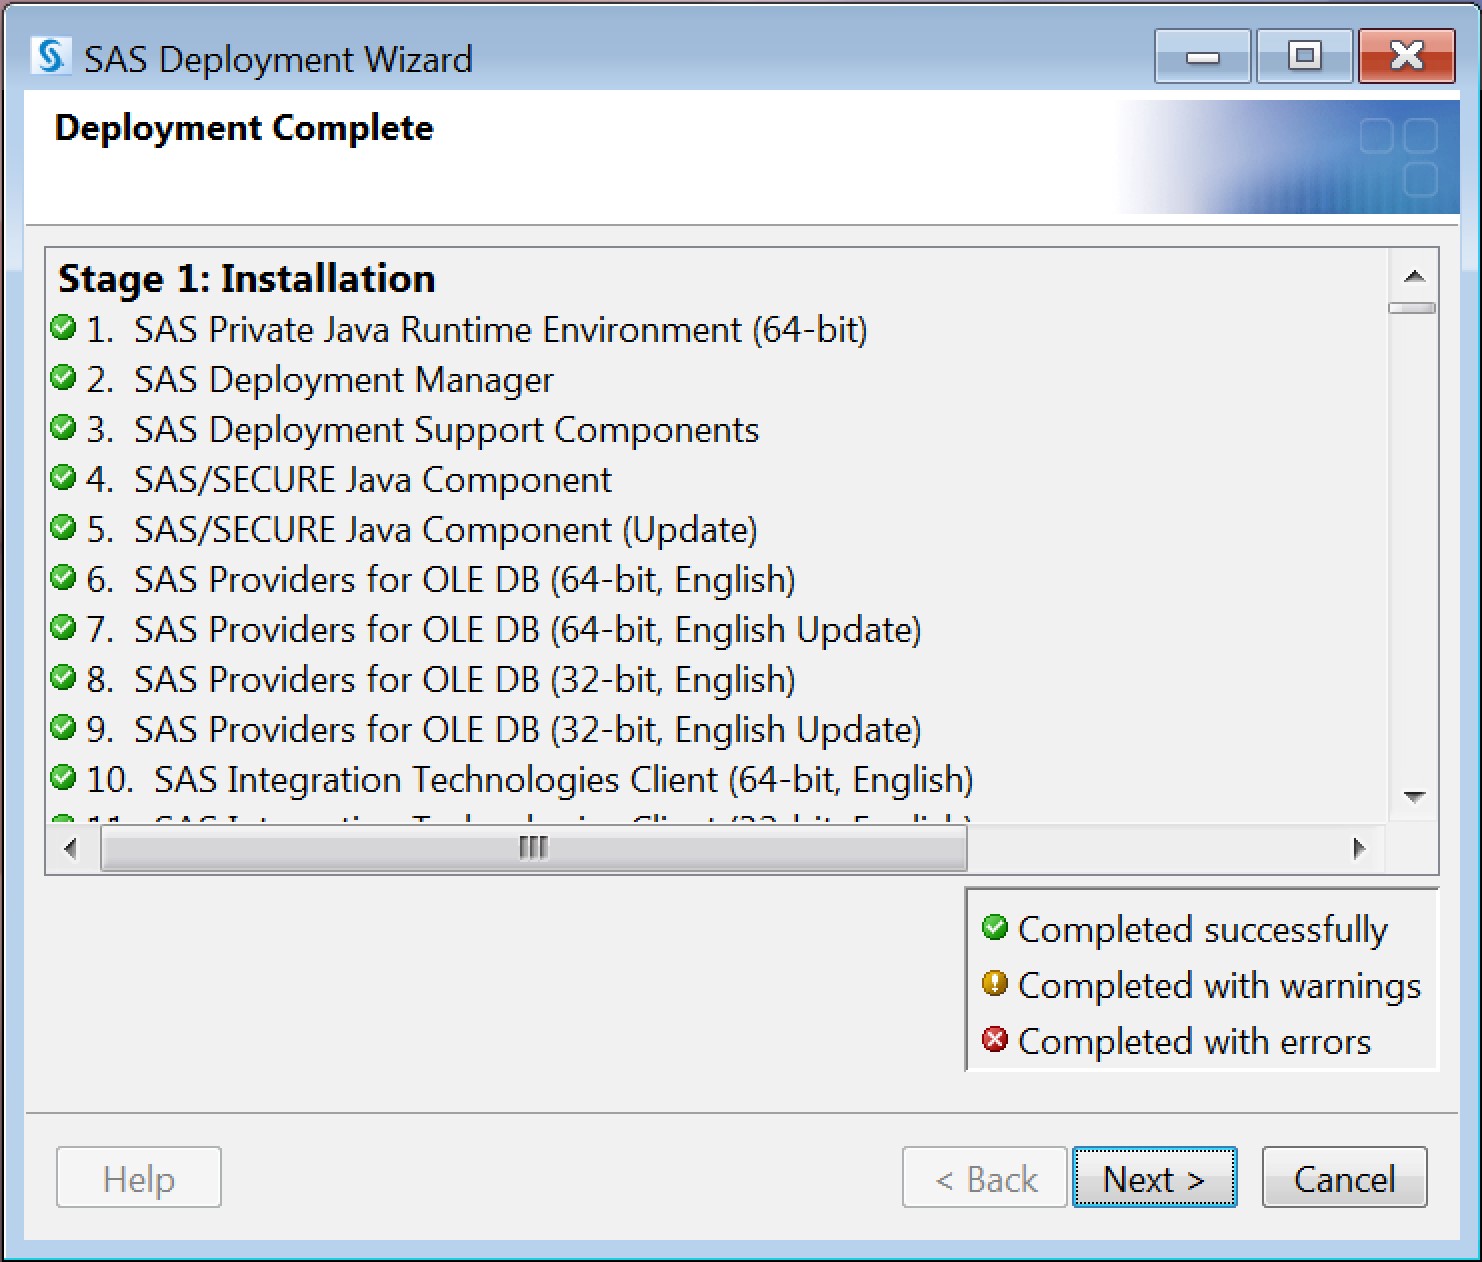
 18. On the "Deployment Summary" screen, select Start to begin the installation:
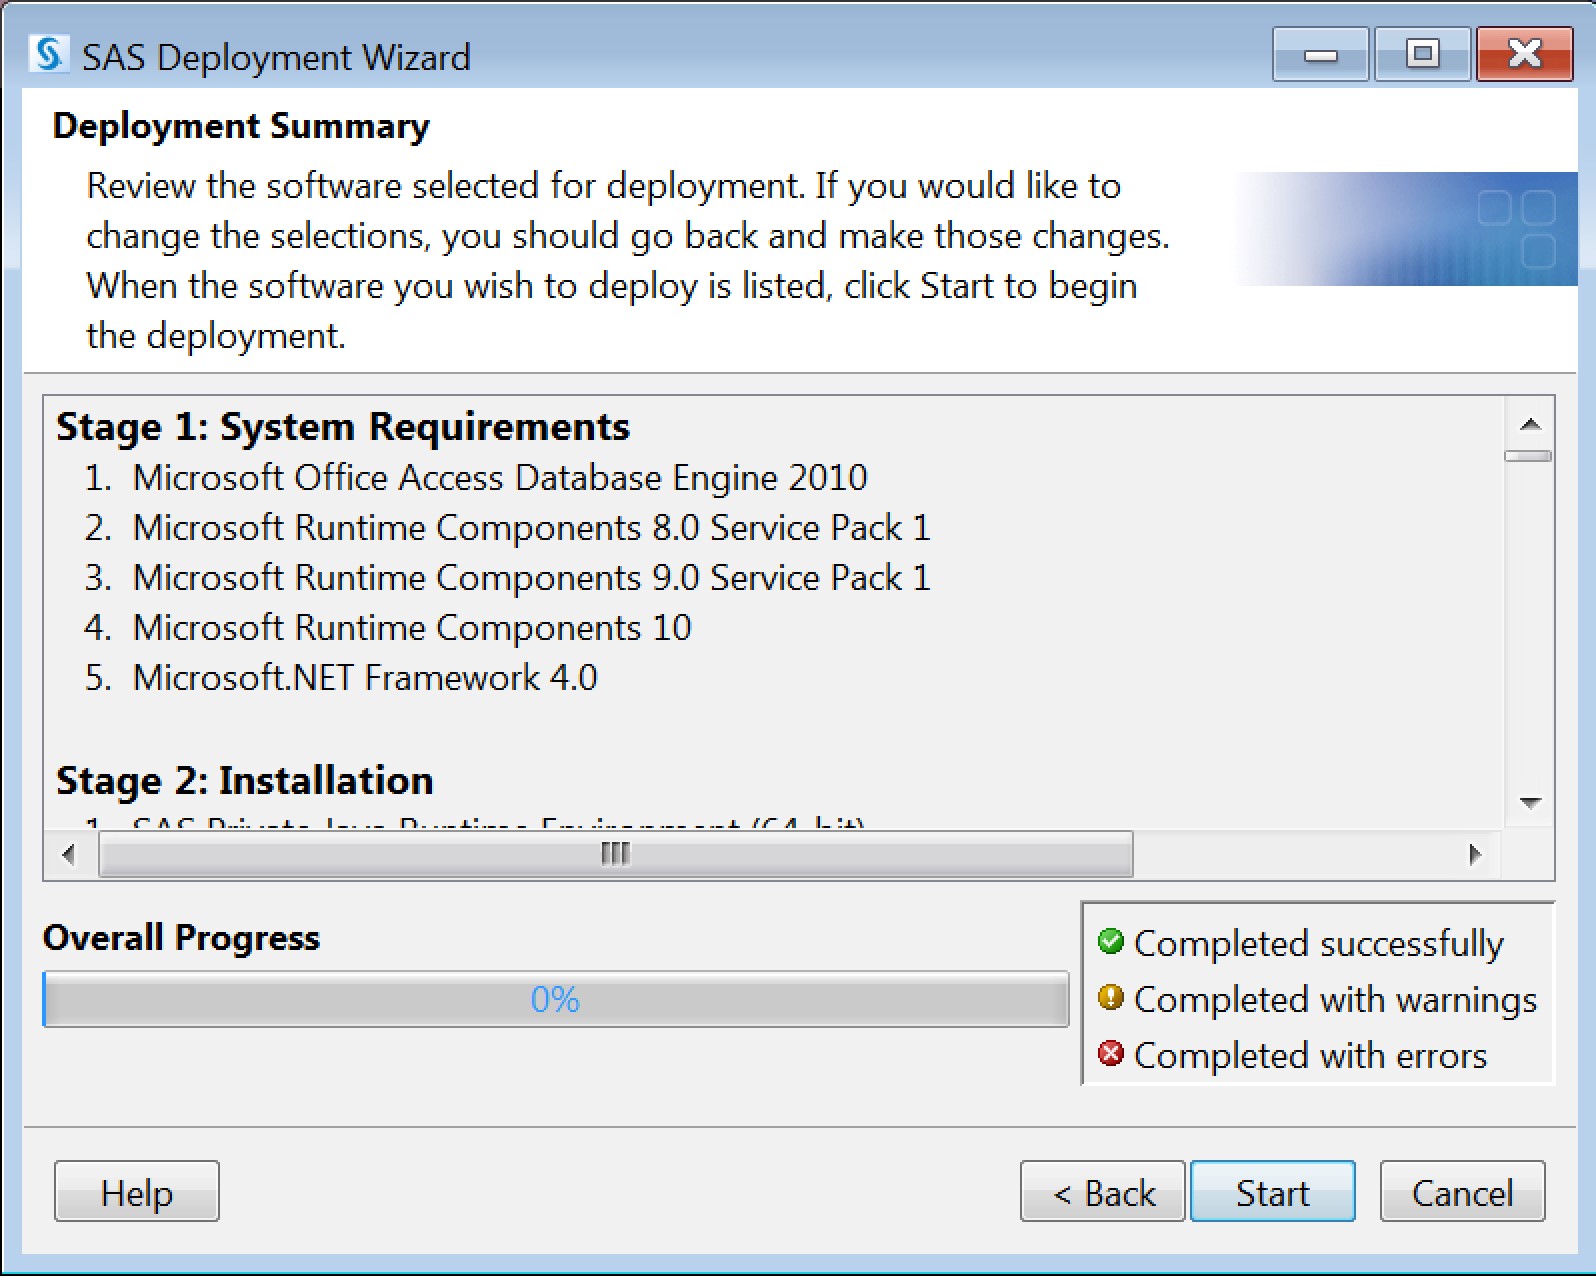 a. Once the installation has completed then click Next.
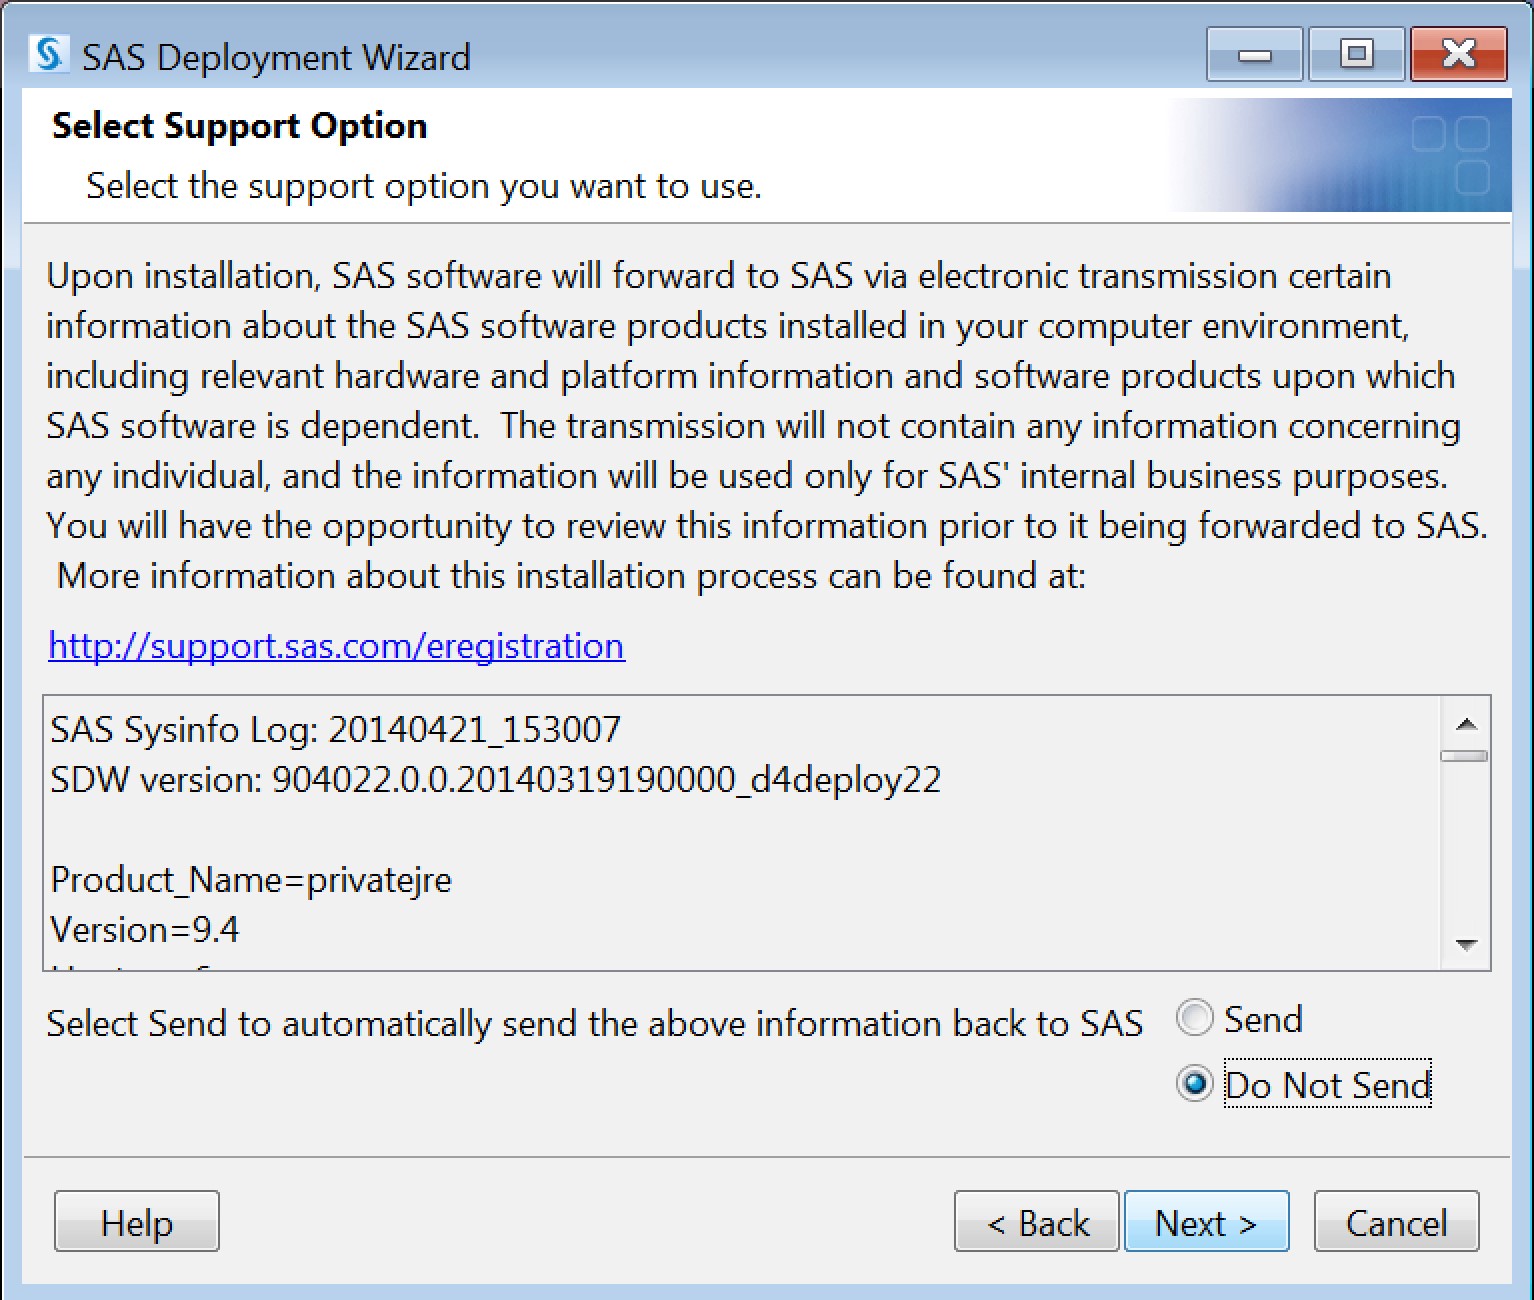
 19. On the "Select Support Option" screen select the Next.
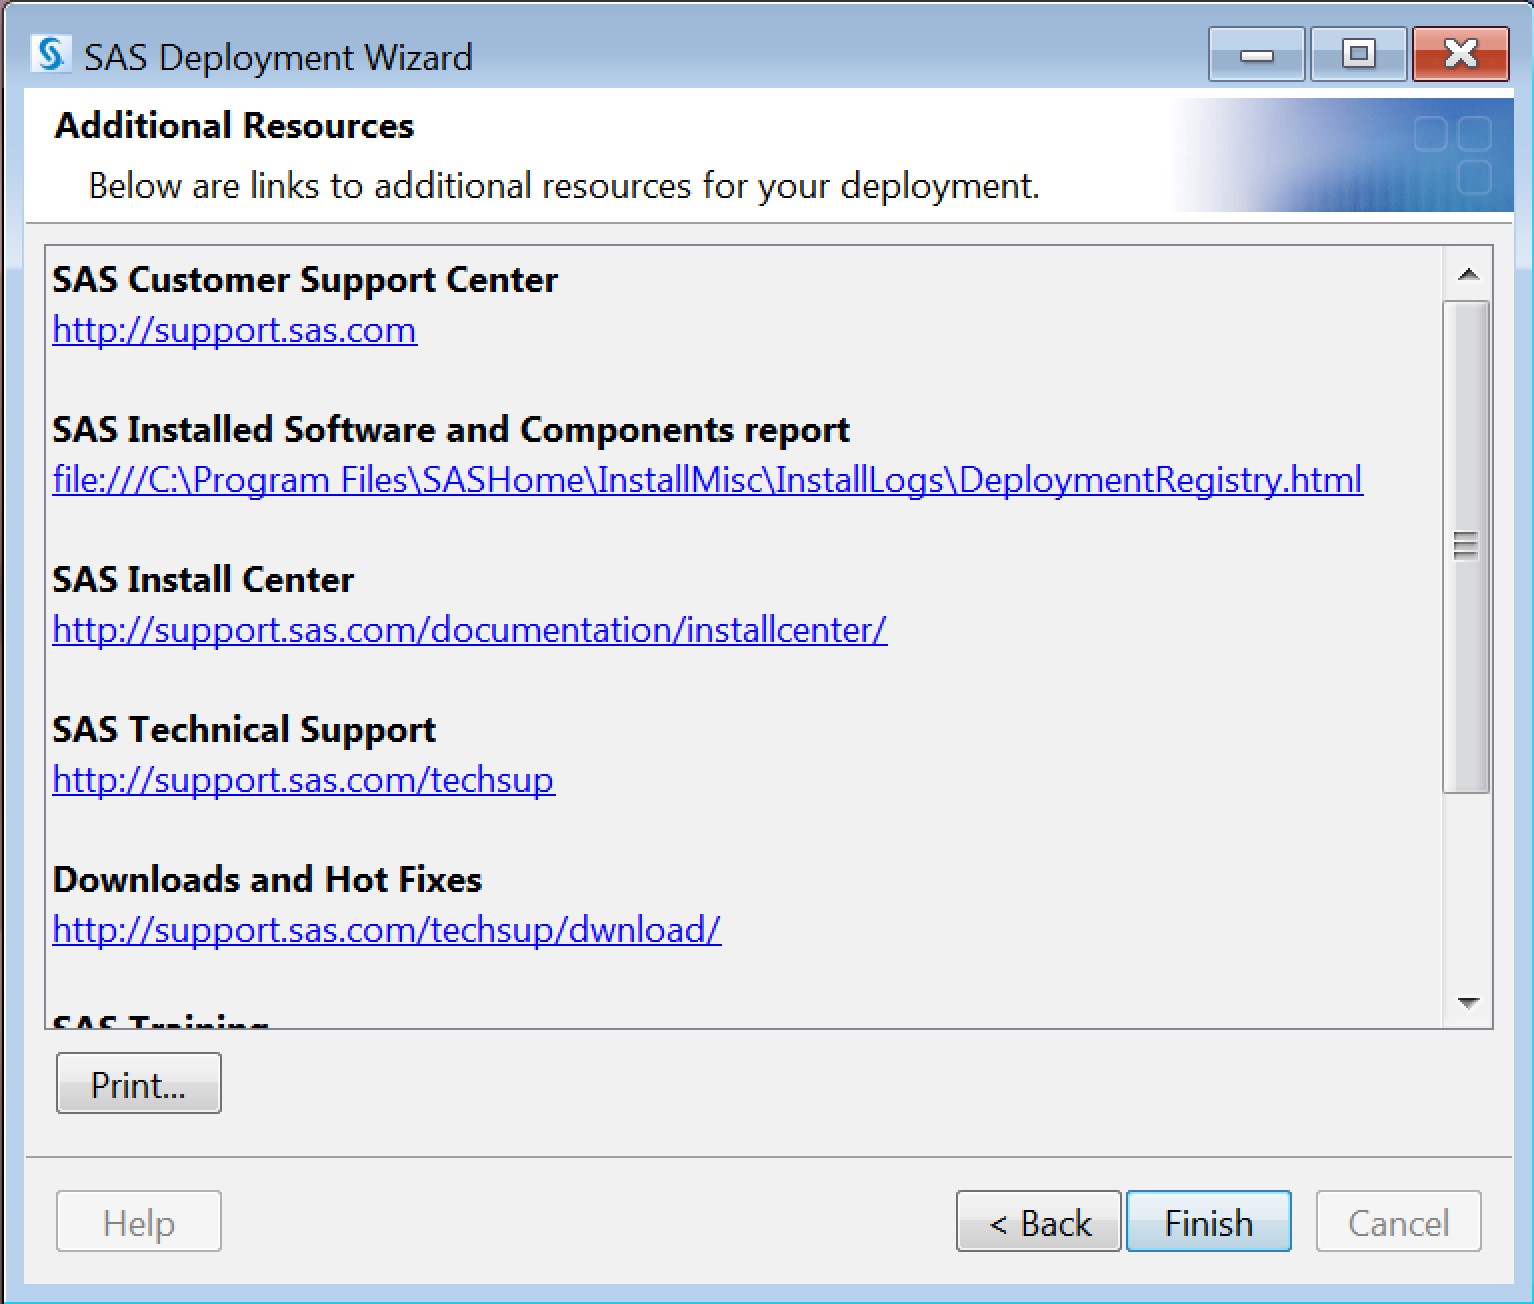
 20. On the "Additional Resources" screen select the Finish.
 HOTFIXES